How to Screenshot a Video

Screenshots of videos can be a great asset for educational and instructional purposes. For example, using a frame from a video to illustrate a point in a presentation or a reference in a video.
Now, if you're making tutorials, reaction, or gameplay videos, chances are you're going to need more than a single image. You will most likely need to video capture the screen.
Follow along with our guide below to learn how to screenshot a single video frame without losing image quality and how to record any screen connected to your computer.
How to Take a Screenshot of a Video
In order to take screenshots, we're going to use the video editing software PowerDirector. You can download it for free on Mac and PC.
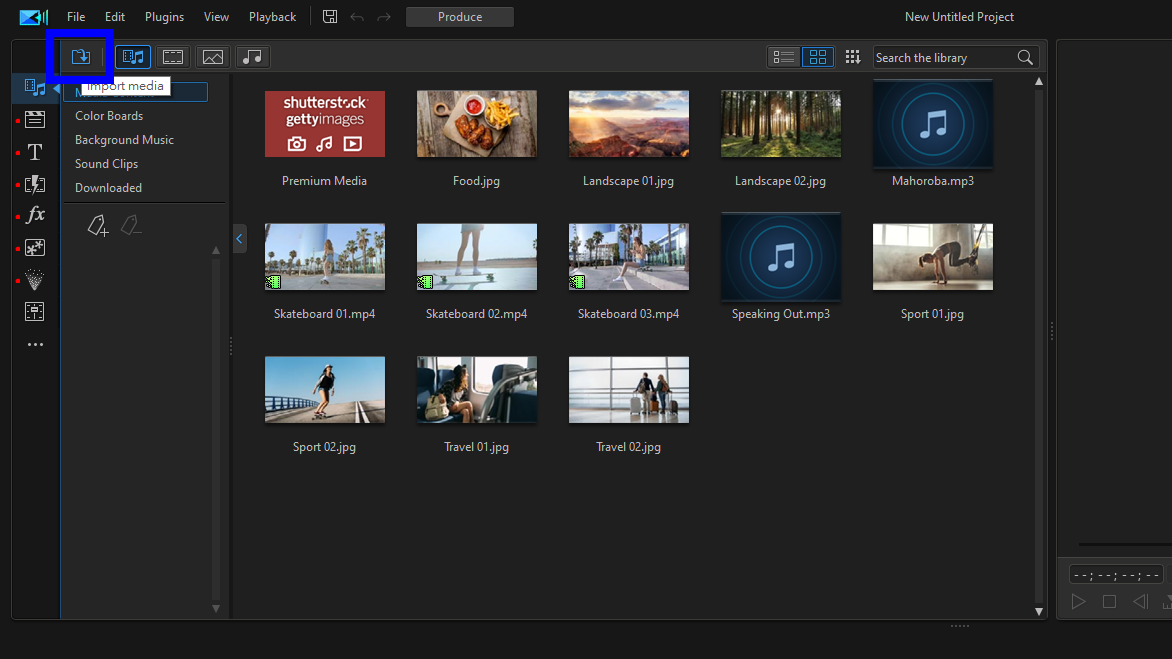
After downloading and creating a project in PowerDirector, import your video. You can use the Import Media button on the top left of your screen, or you can add the video file to your project by dragging and dropping it directly into Media Content.
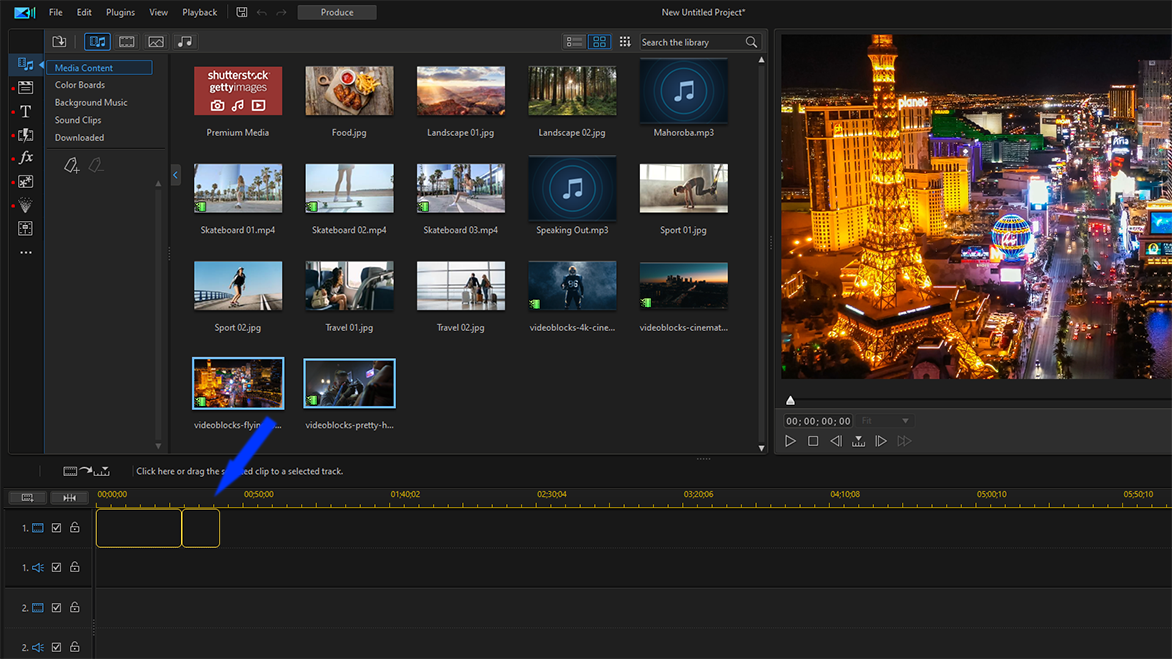
Drag your desired clip to a video track in the editing timeline. Any video or photo you add to the timeline will appear on the preview screen.
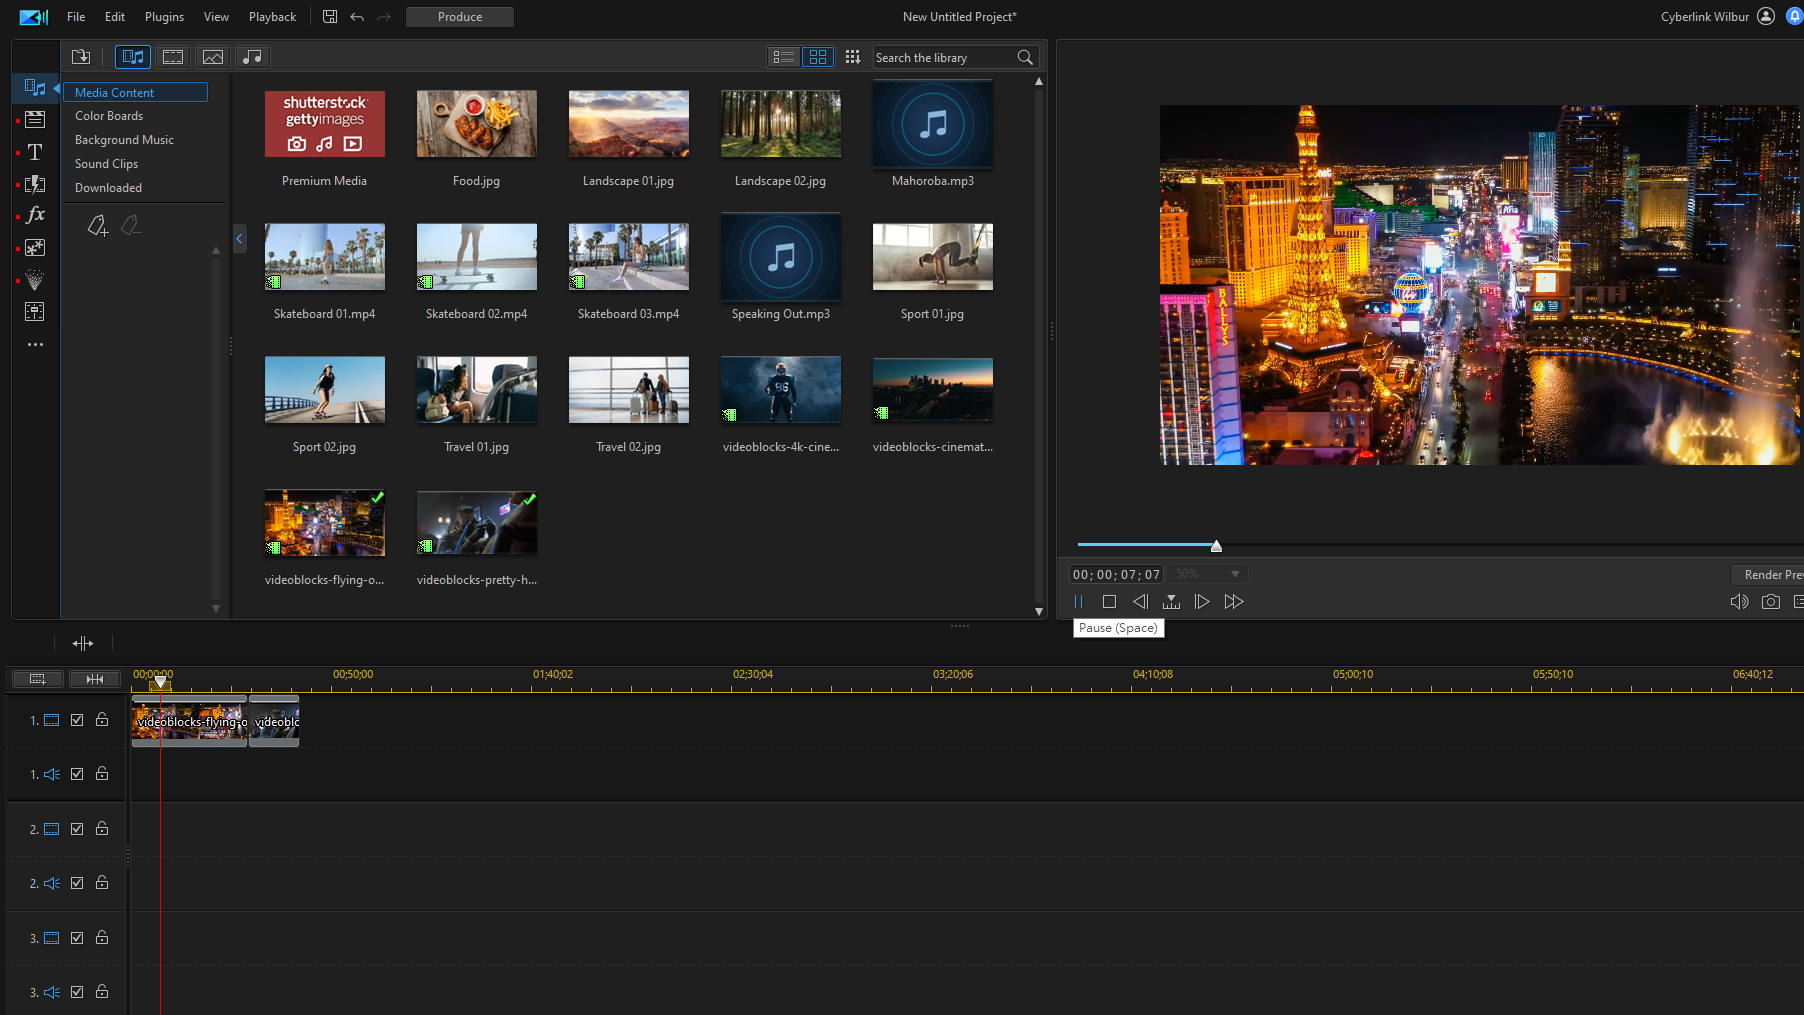
Click the preview Play button to watch the video. When the video reaches the frame that you want to capture, click Pause.
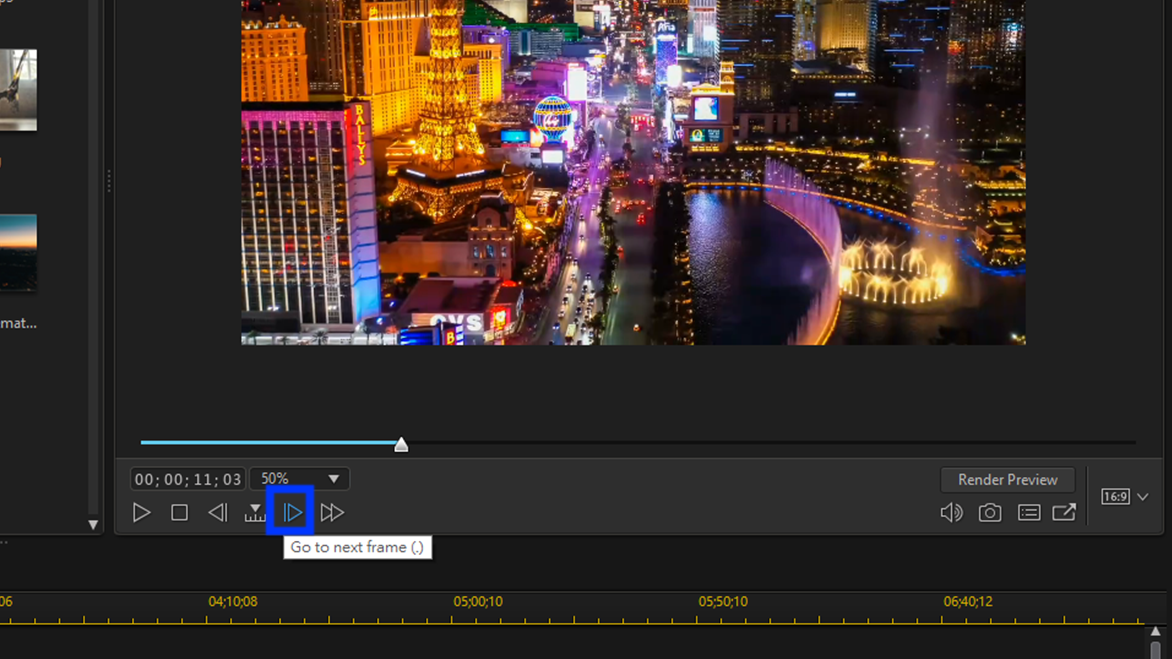
Finding the exact frame you want to screenshot can be challenging using the play and pause buttons. However, using the Go to next frame or Go to preview frame buttons, you can easily navigate to the exact frame you want to capture.
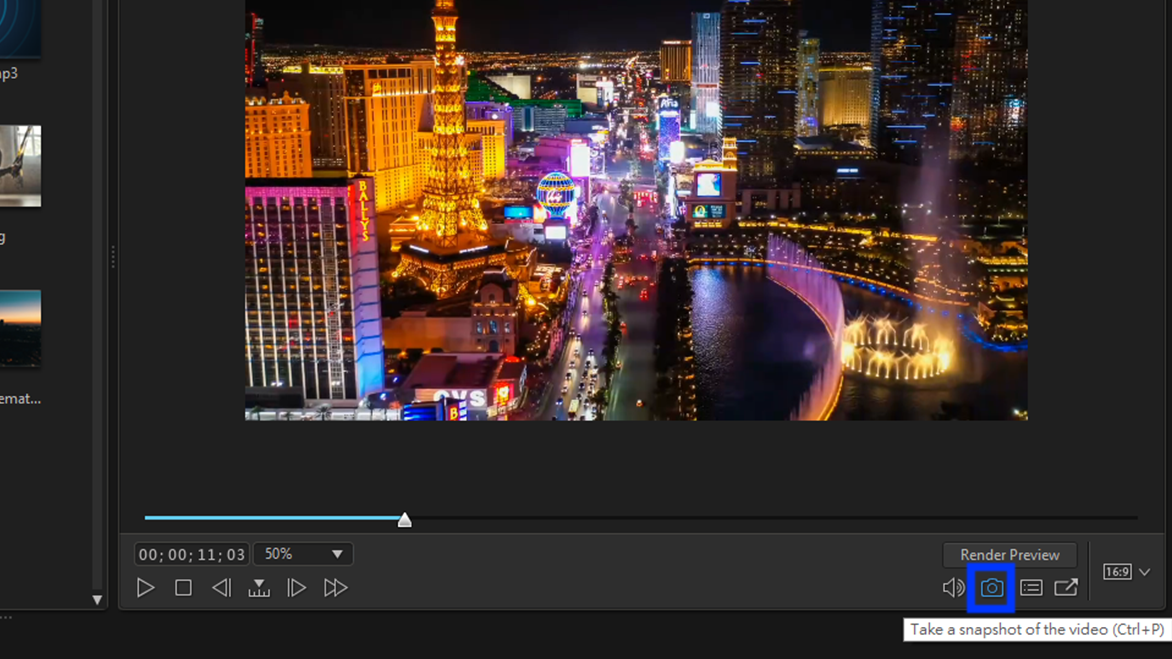
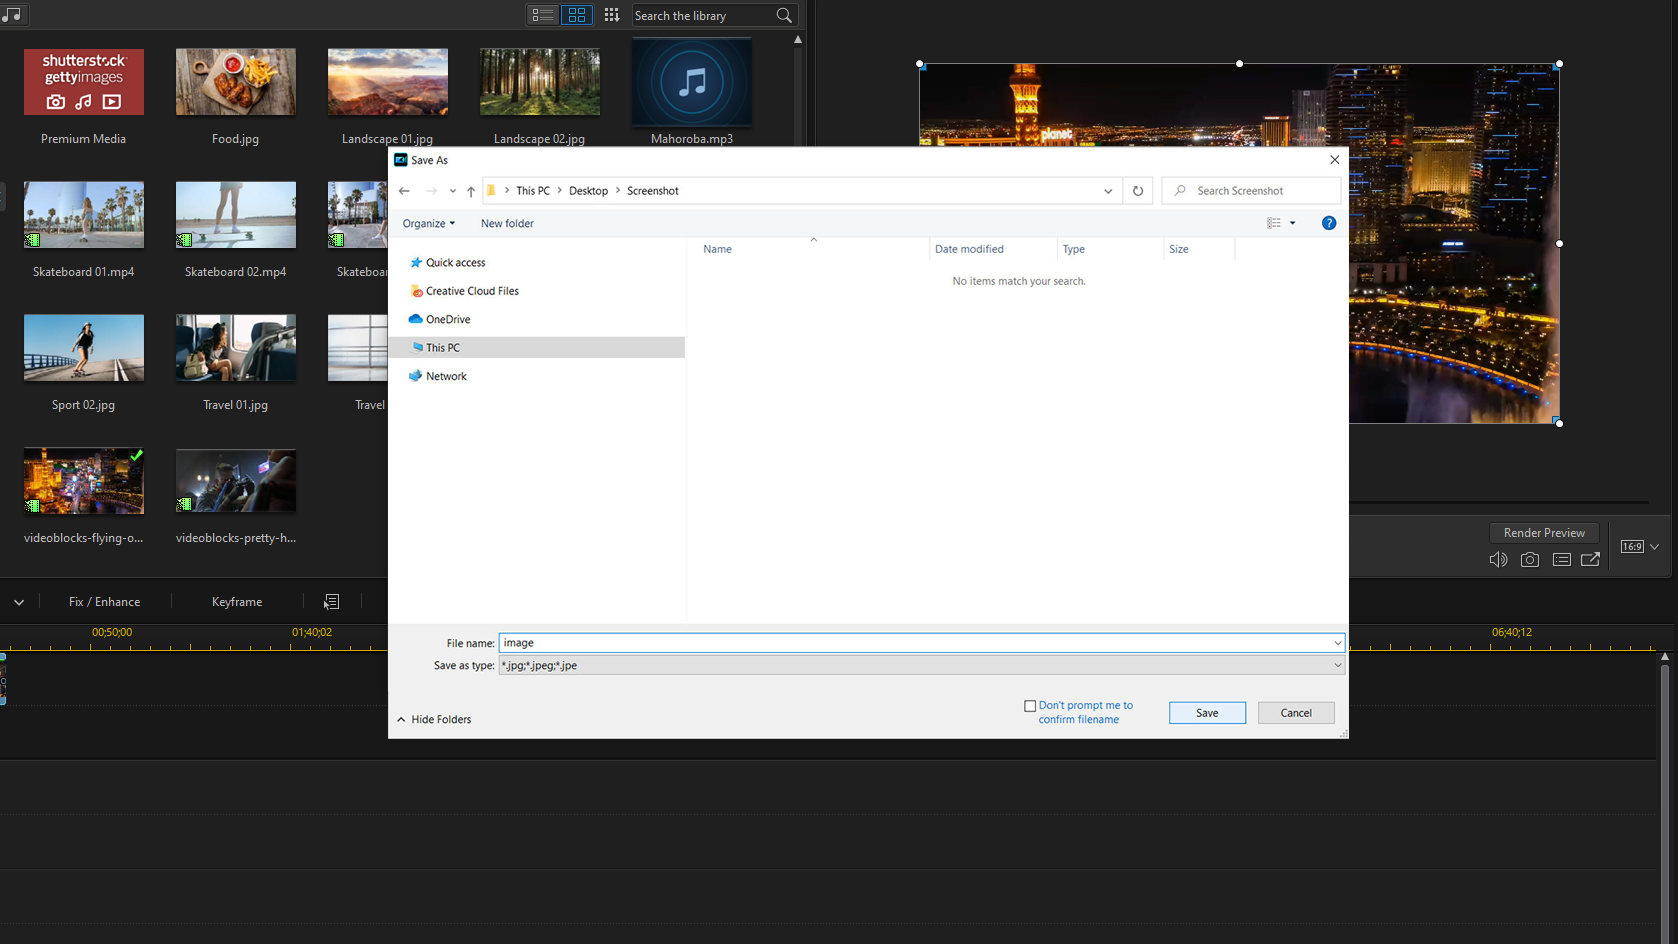
Once you have the frame you want on the preview screen, click on the camera icon on the navigation toolbar to take a snapshot. A window will appear that lets you name the snapshot and select its designation folder. You can save the image as a JPEG, PNG, GIF, or BMP file.
When you click OK, the image file will save on your hard drive, and the image will appear in Media Content.
How to Video Capture a Screen
Using PowerDirector, you can also record your screen to create a video.
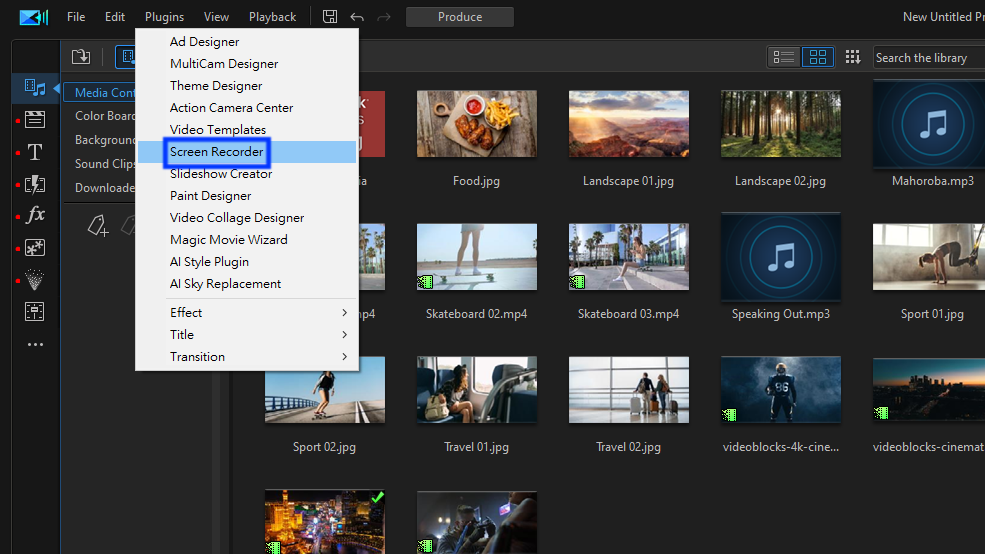
To do a screen recording, launch PowerDirector on your computer and select Screen Recorder from the Plugins drop-down menu.
In the Screen Recorder window, you can choose the source of the video you want to capture. Your options include Full Screen, Game, Lock to App, Custom, and Device.
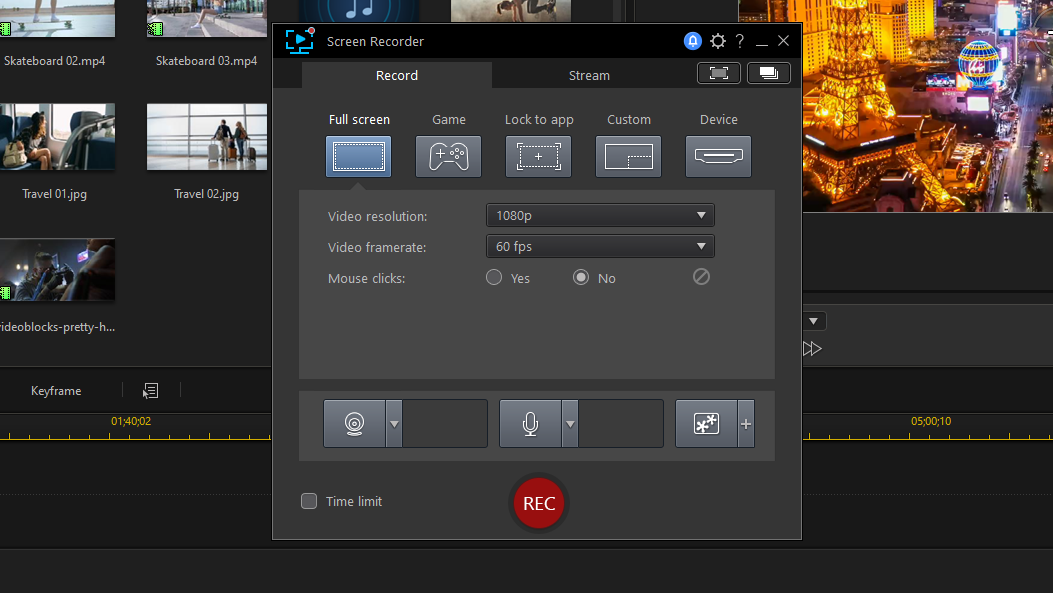
To control the dimensions of your video, select Custom Area. Using your mouse, size the recording area so that it includes the area of your screen you want to capture.
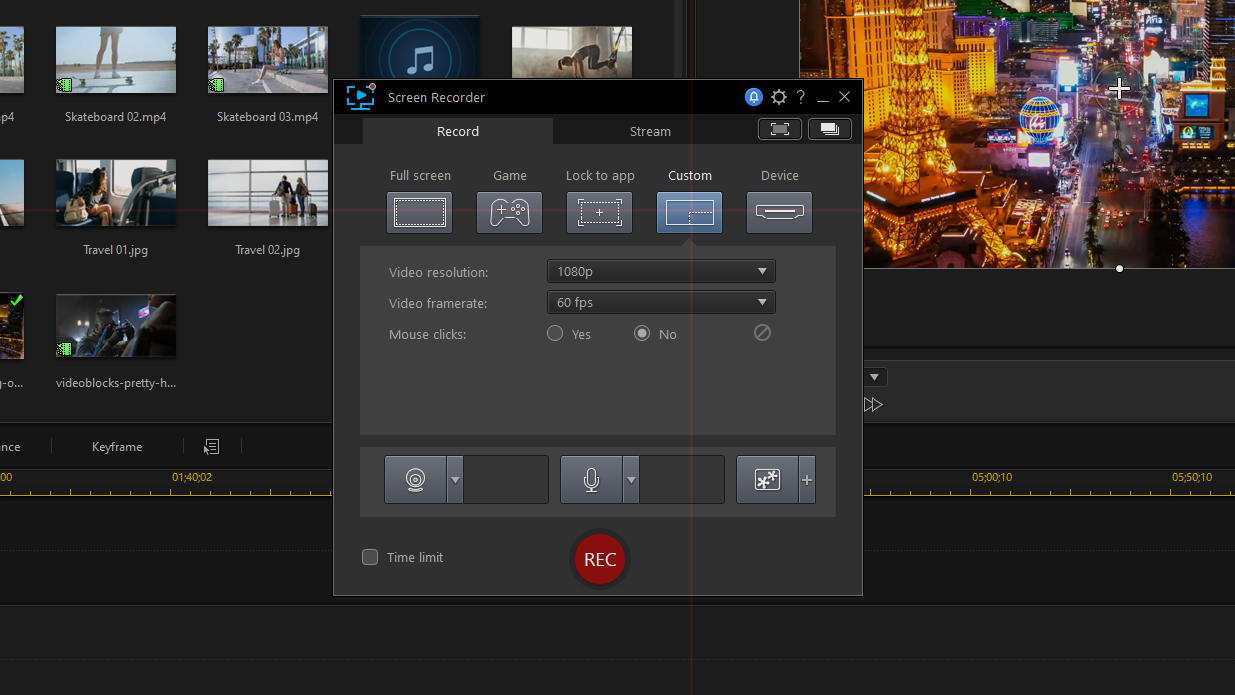
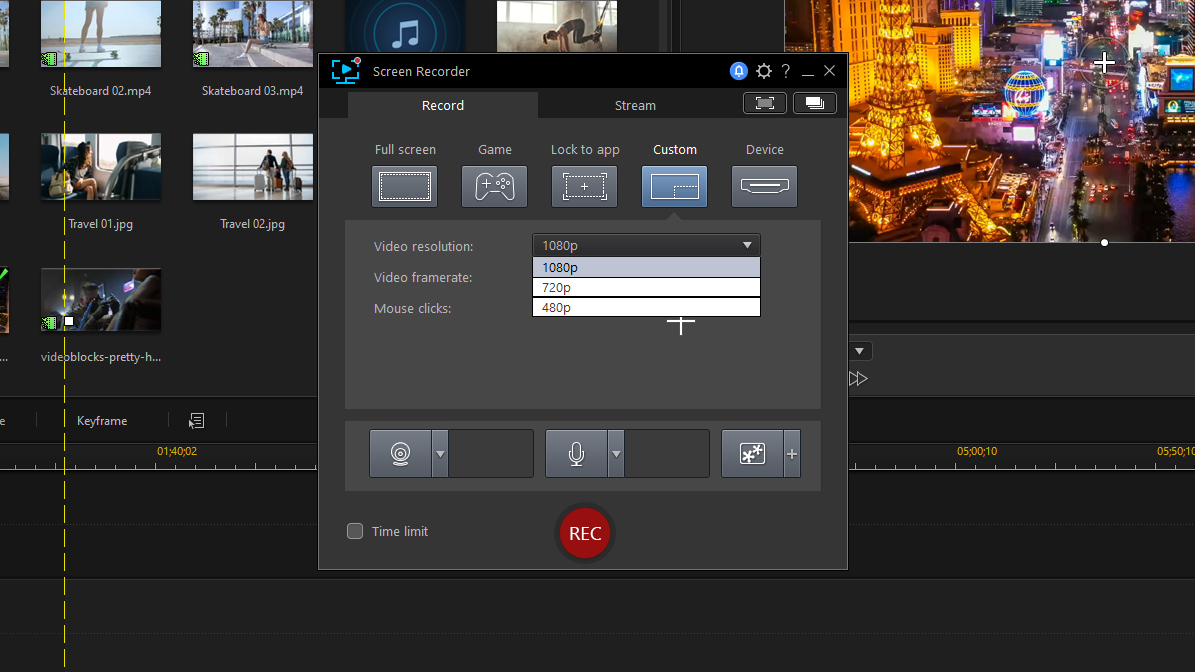
You will also need to select your destination folder, video resolution, file format, and frame rate.
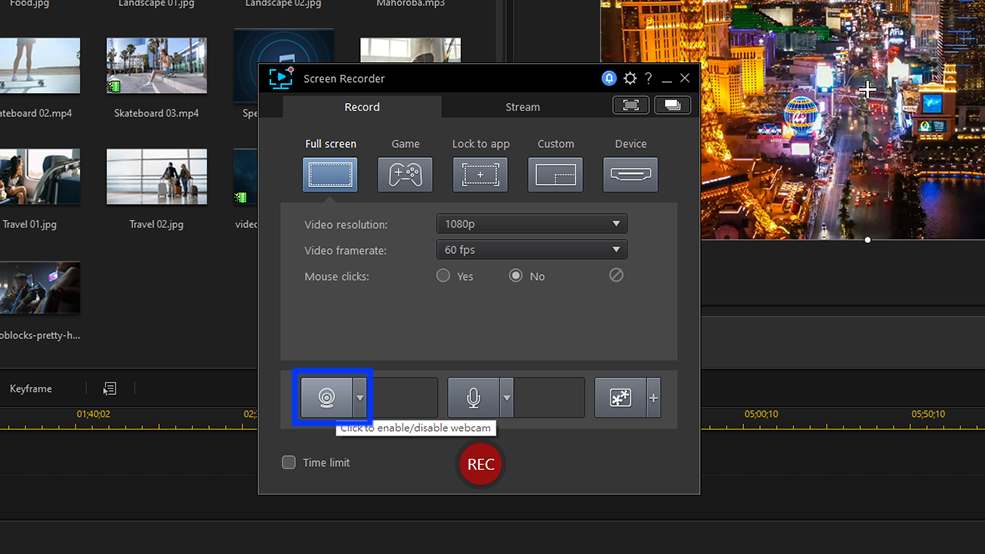
If you want to record with a webcam video, click the webcam icon, and select your camera as the input source. To record sound, enable your microphone.
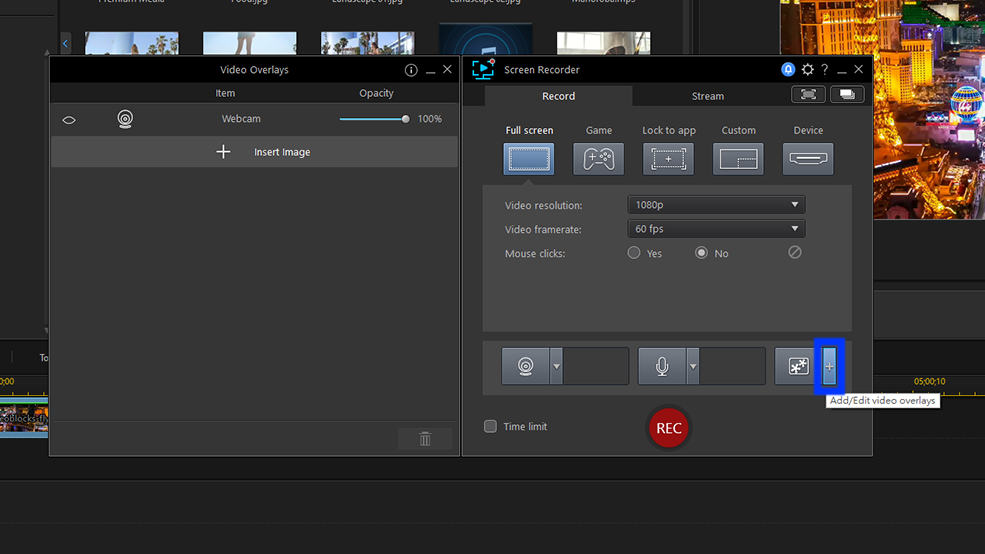
PowerDirector gives you the option to add an overlay image to your video. To insert an overlay image, click on the + icon next to the Overlay Image icon, and select the image file from your local storage.
After setting up your webcam, microphone, overlay image, click the record button and start your video recording. To stop your recording, click Stop or press the F9 button.
The video recording will save in the destination folder in the format you chose.
For more in-depth information about video screen capture, check out our article How to Screen Record.
Take Your Own Video Screenshots and Screen Captures
With CyberLink's PowerDirector, taking a screenshot of a video is a quick and easy process, and you don't have to worry about losing image quality. With the Screen Recorder plug-in, you can record your screen as well as any device connected to your computer. The plug-in can also be used to record webcam footage and capture audio from your mic.
Download PowerDirector for free to start creating professional-level content.


