
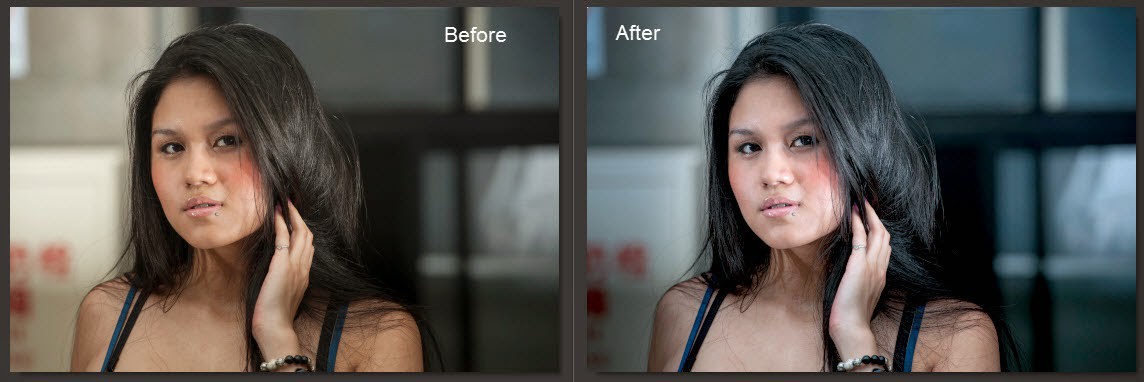
Create a Hollywood Cinema Look Photo

Recent Hollywood movies follow a common coloring trend – warm highlights and teal-tinted shadows. Today, we will create this look with a portrait photo.
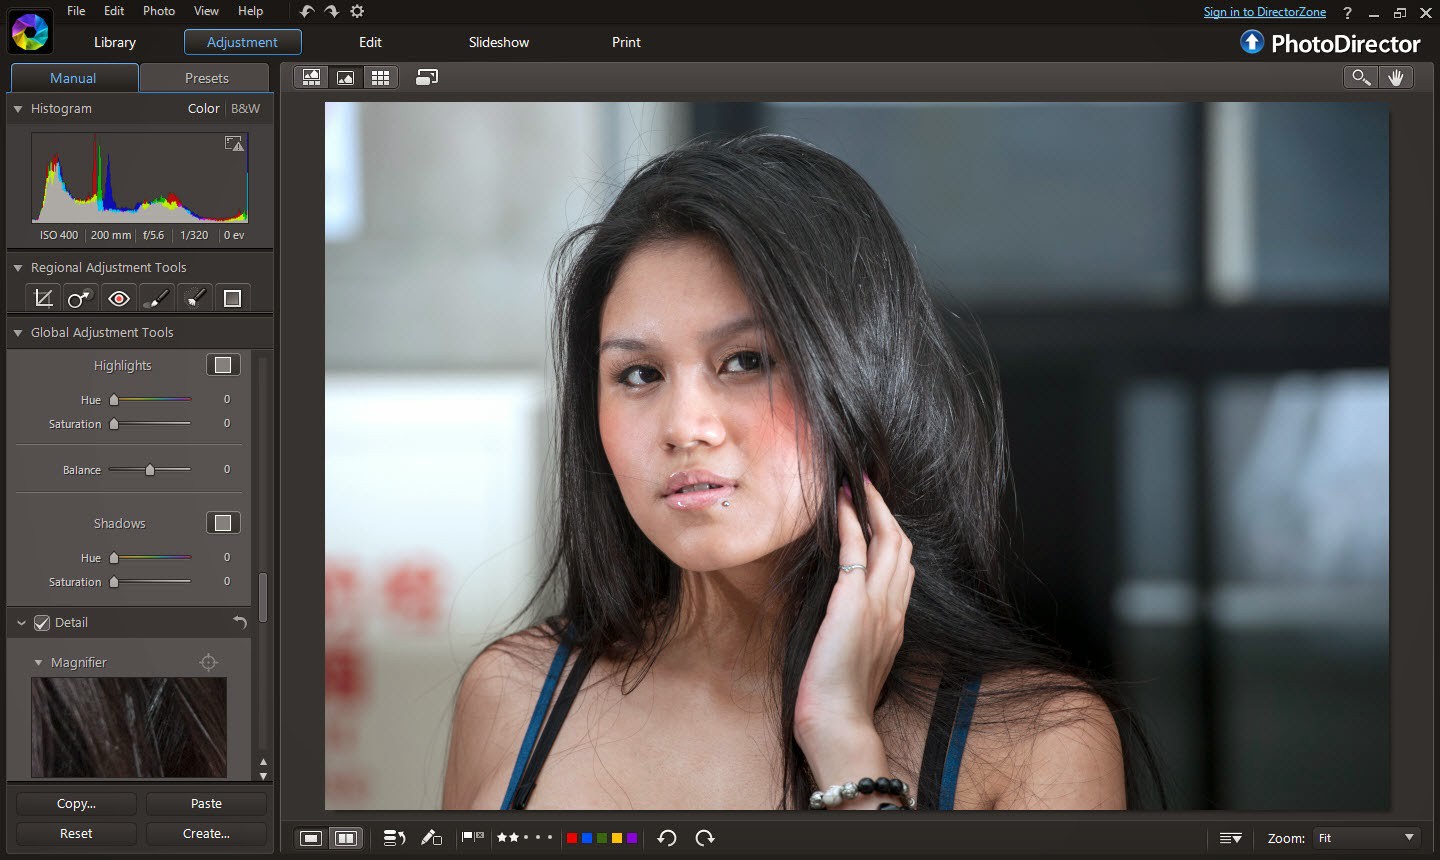
The first step as usual is make preliminary tonal adjustments.
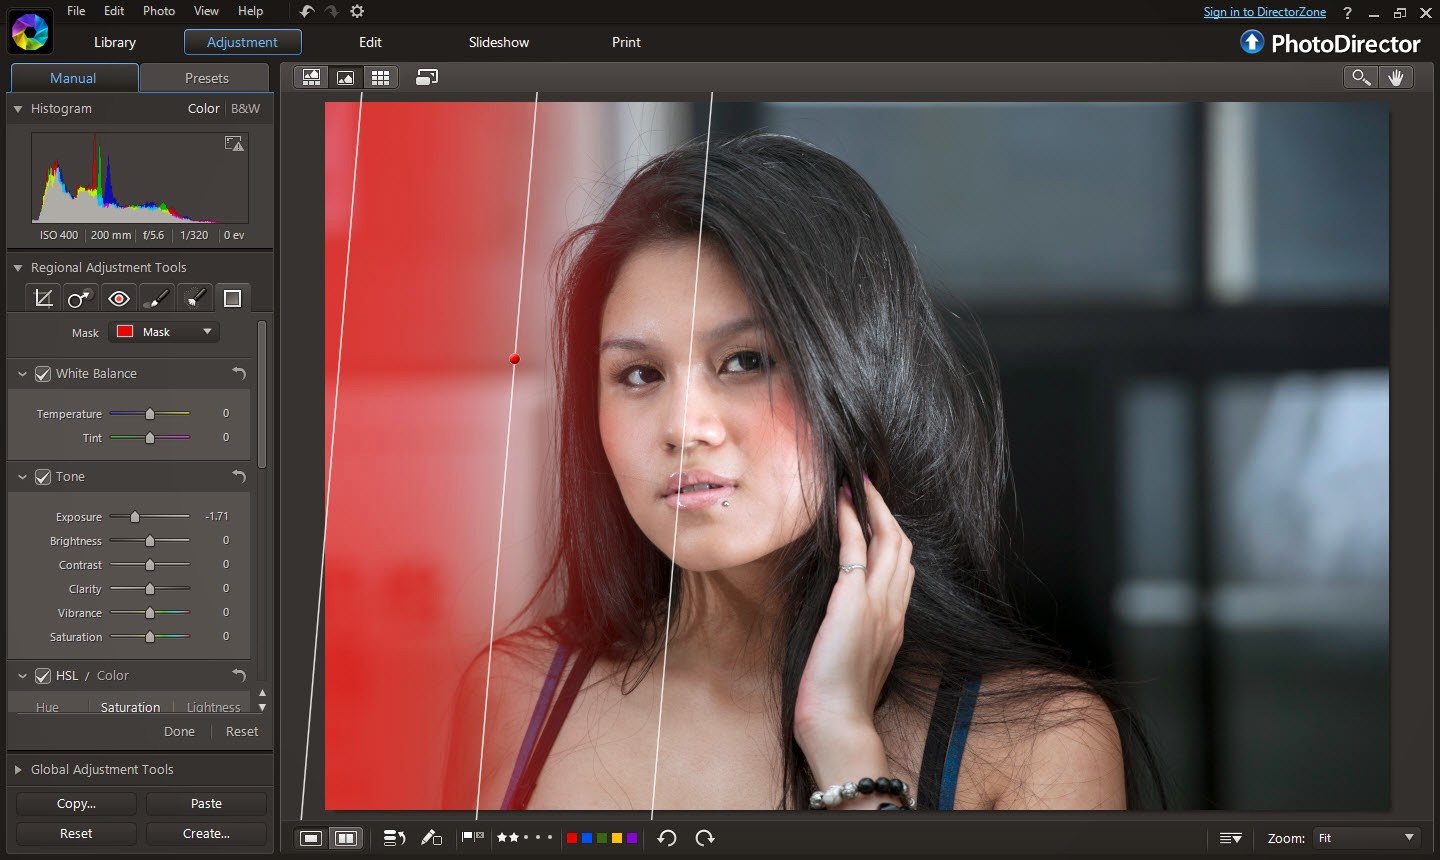
There is a bright background on the left, so I apply a gradient mask to tone down the exposure of that area.
Now, we get to the key part to create the Cinematic effect using the split tone. As mentioned, I select a warm color to brighten up her face and a teal color for the shadows in the background. I also shifted the balance towards the shadow to bring out more of the teal tint.
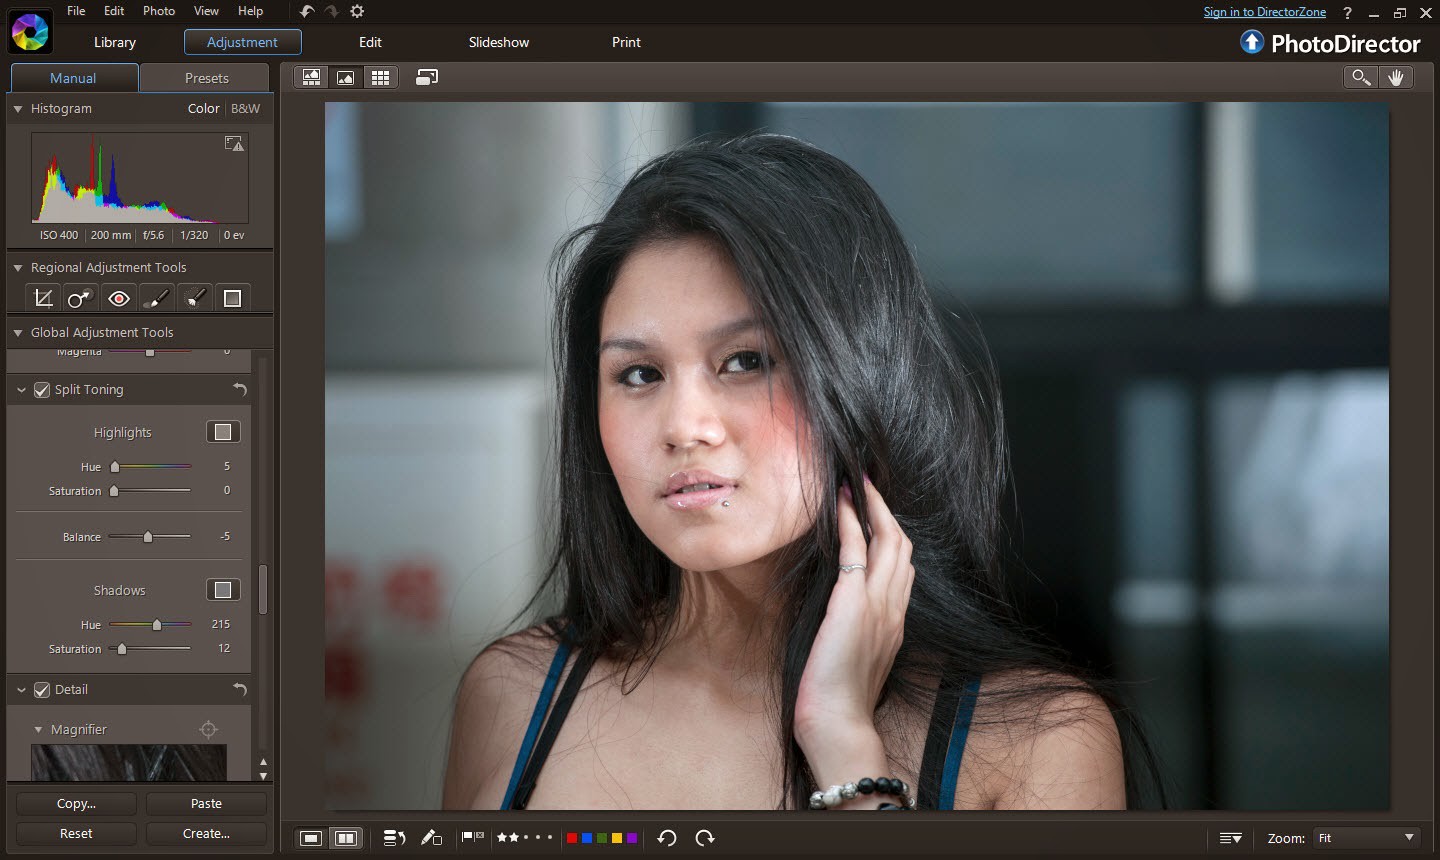
Next, I revisit the tone adjustment panel to enhance the contrast. In this photo, I find that only adjustment in the Blackest is good enough. I also lower clarity to give her skin a softer look.
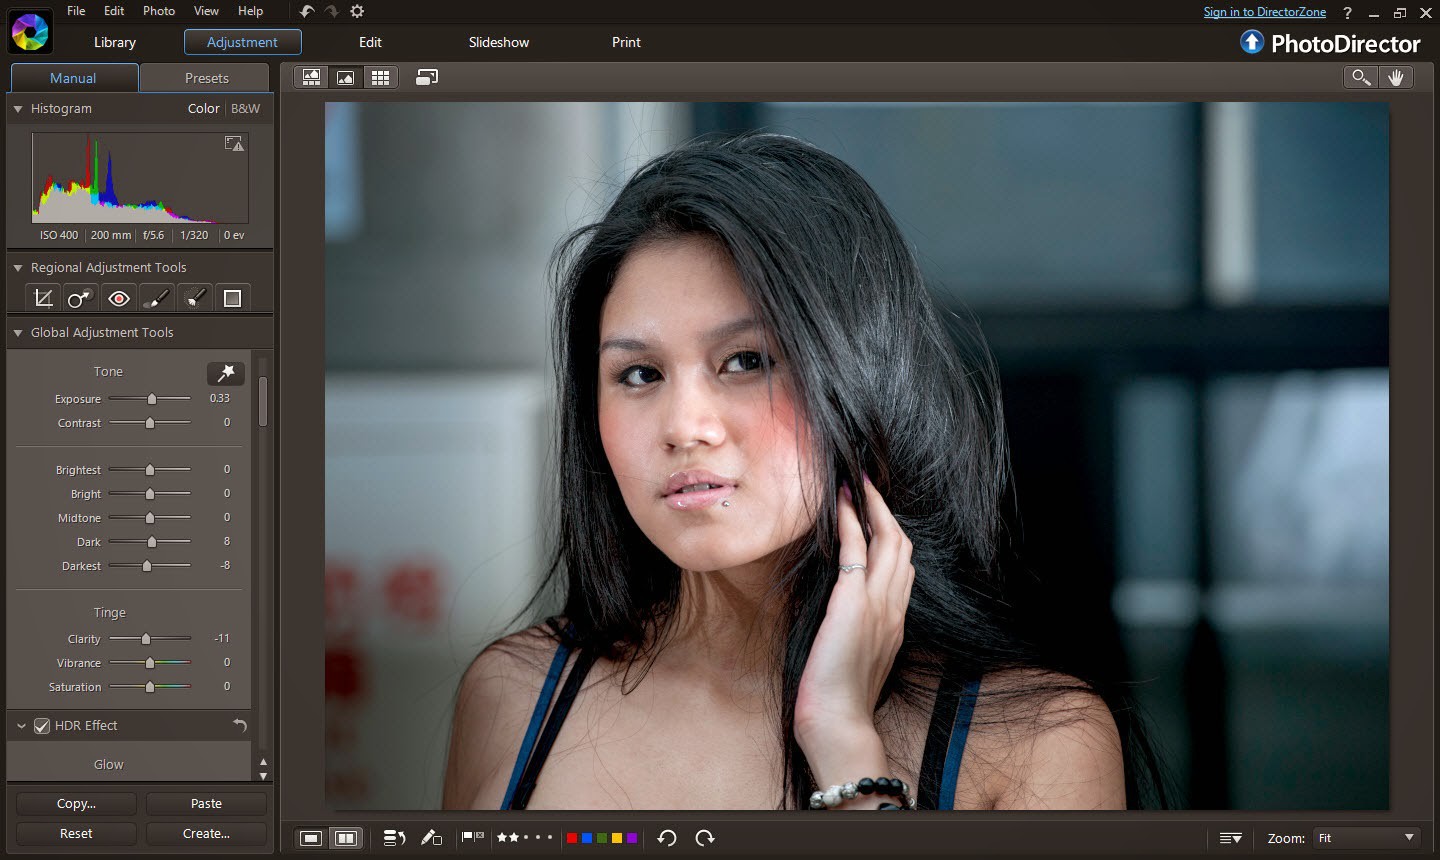
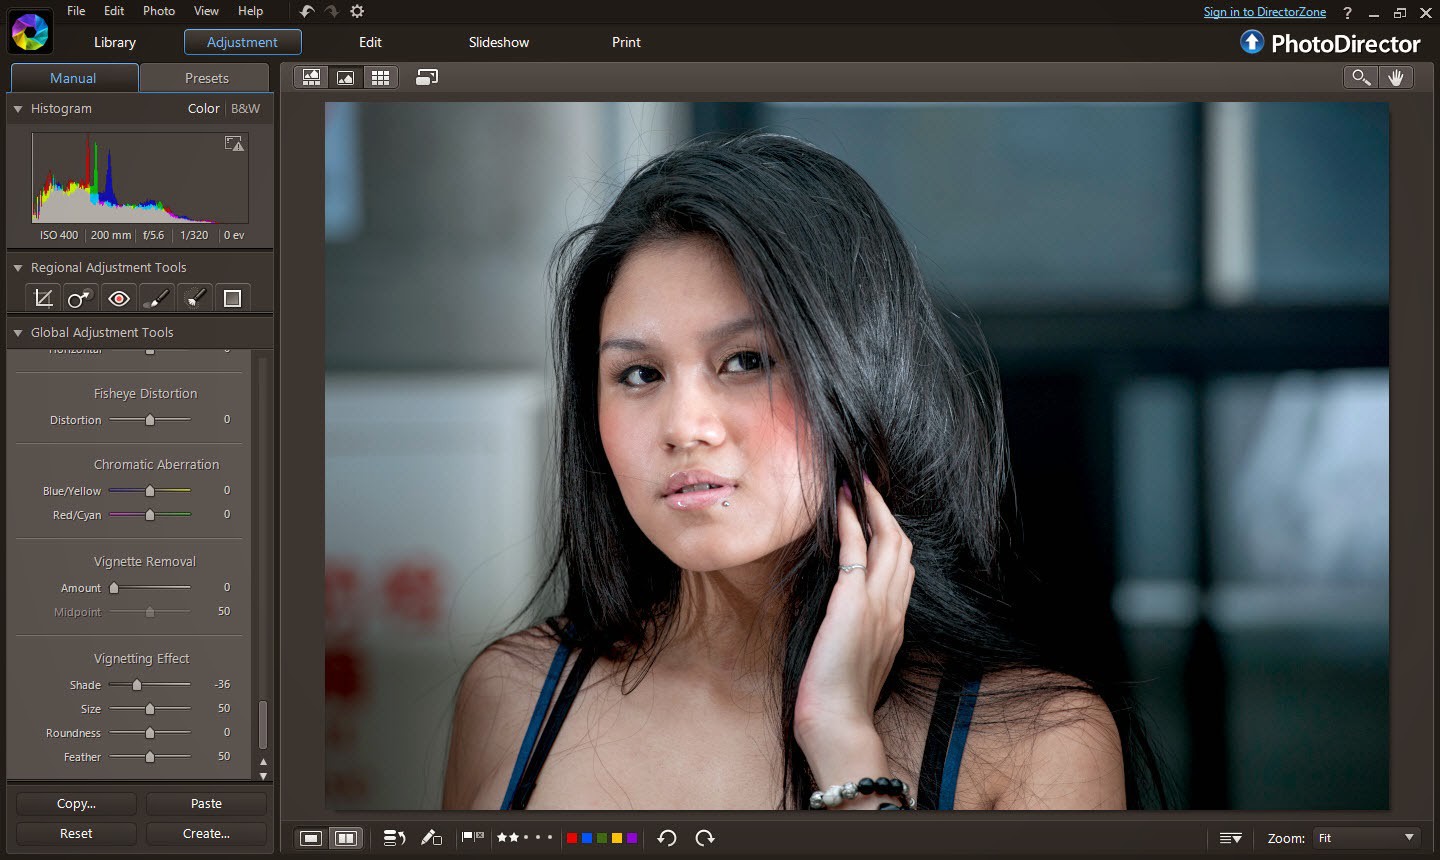
For the final touch, I added a vignette to put her face in focus.
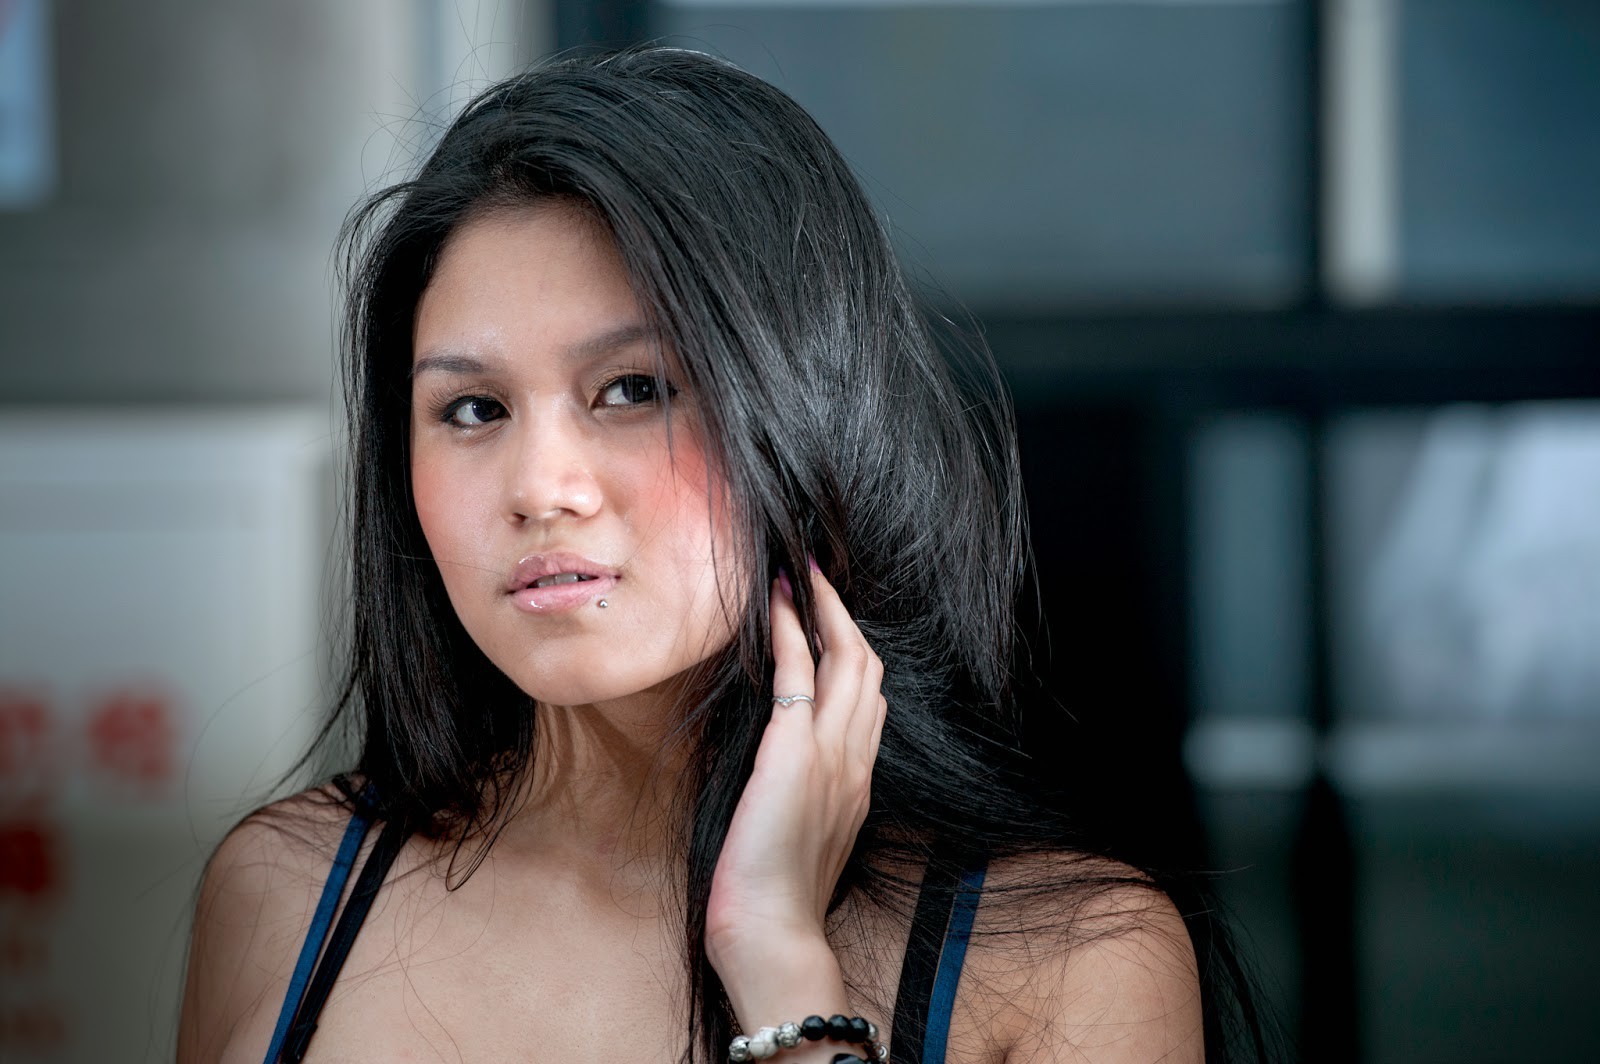
And the final cinema look:
You can download this effect from DirectorZone here and apply it to your portrait photos using PhotoDirector.
PhotoDirector 2026 Essential
Free Software With 30-Day Premium Features
