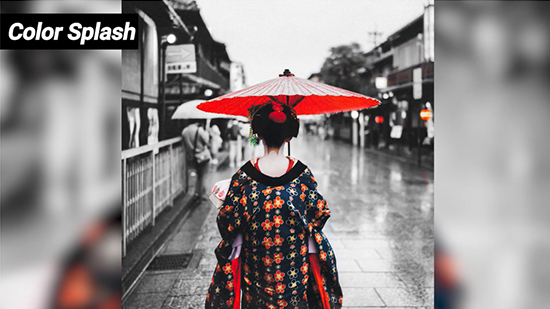
Creative Effects Using the Blur Tool in PhotoDirector 7
PhotoDirector’s Blur Tool is an effective feature to create various effects to your photos. Plus they are extremely easy to use. The Blur Tool is located in the Edit Module.


You can choose from Circular, Linear, and Brush (where you brush the area you want to be blurred) types of blur. In this tutorial, I will demonstrate how to apply the Circular Blur Tool and the effects they create on the photos.
When you click on the Circular Blur Tool, a radial will appear on your image. The inner circle is where the focal will be and this part of the image will remain sharp and intact. The outer circle is the gradient range from being sharp and focused to blurred. Areas outside the circle will be blurred.


So, the first step is to decide to focal subject in the picture and adjust the radial location and size. In the side panel, there are 4 Blur Type options – Soft focus, Bokeh, Radial Blur and Focal Zoom. Each type yields to a different look and feel.
After applying the Blur effect, there are a couple of helpful tools:
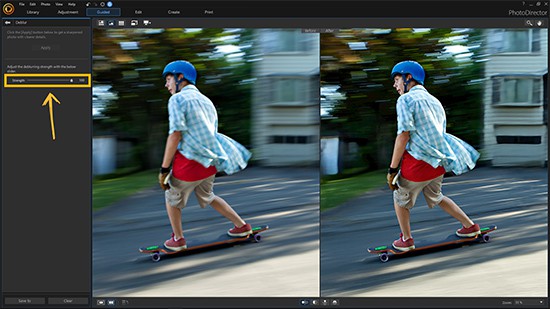
1. A slider to adjust the intensity of the blur effect according to your preferred look.
2. A convenient check box to hide the radial indicator so you can preview the adjusted photo.
3. You can also use the “Compare” mode to see the images before and after applying the blur effect.

Soft Focus creates a shallow depth of field look to the image, focusing on just the part you want to emphasize in the photo.


Bokeh simulates a beloved depth and blurry effect rendered by some lenses. It also comes with different bokeh shapes.
The Round-shaped Bokeh is the most common effect.

The X-shaped Bokeh is popular shooting street lights at night time.

Radial Blur creates and swirling motion to photos.

Focal Zoom adds speed, motion and Wow factor!

PhotoDirector 2025 Essential
Free Software With 30-Day Premium Features


