
Using Video-to-Photo Tool to create a perfect group shot

With PhotoDirector, there is another unique feature called Face Swap, which is a great tool for creating a perfect group picture. The Face Swap feature allows you to import 5 group photos (shot in quick succession), analyze everyone’s faces and then merge them into 1 photo that includes everyone’s best facial expression.
For PhotoDirector 8, we’ve added the Face Swap module into the new Video-to-Photo tool, which allows you to capture up to 5 frames from a group video, and merge them into the best possible photo with everyone’s smiling faces. In this tutorial, we will show you how to use Face Swap from the Video-to-Photo tool.
Step1: Launch PhotoDirector’s Video-to-Photo tool
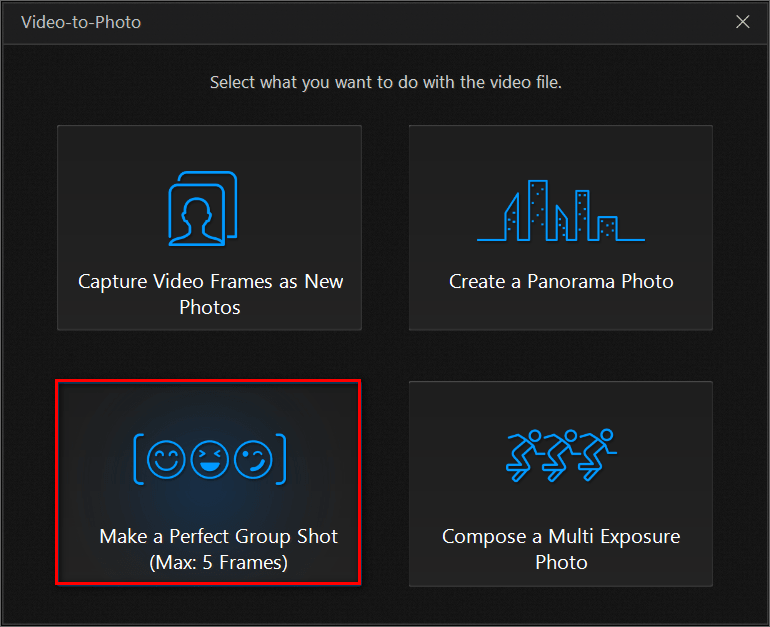
First, simply drag-and-drop a video file into PhotoDirector’s Library interface. When a video has been detected, PhotoDirector will launch the Video-to-Photo interface. In this example, you will choose to Make a Perfect Group Shot.
Step2: Capture photos from a video
You are now in the Video-to-Photo tool interface. From this interface, you can play your video file and capture frames directly from the video. If you wish to capture a frame, click on the  button.
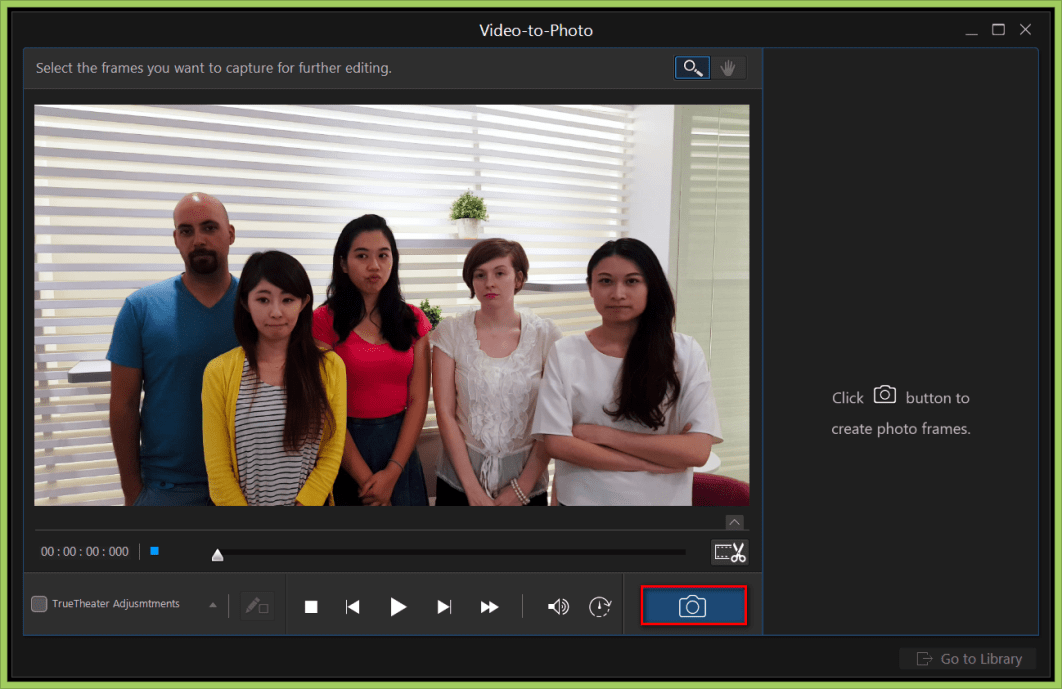
To begin, click the play button and pause at the moment where you think the best smile is for the person of your choice, and then take a snapshot.

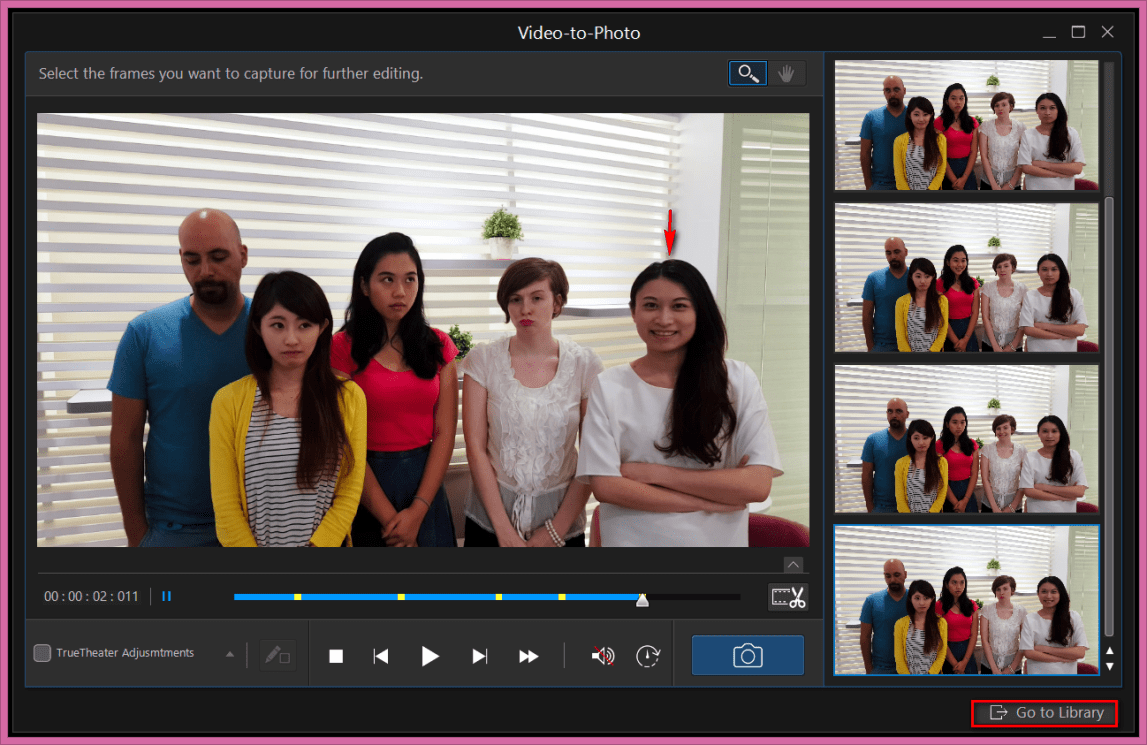
Navigate the video and locate the photos with the best facial expression for each person. You can capture up to 5 photos. When you are finished, click on the Go to Library button at the far bottom right hand corner of the screen.
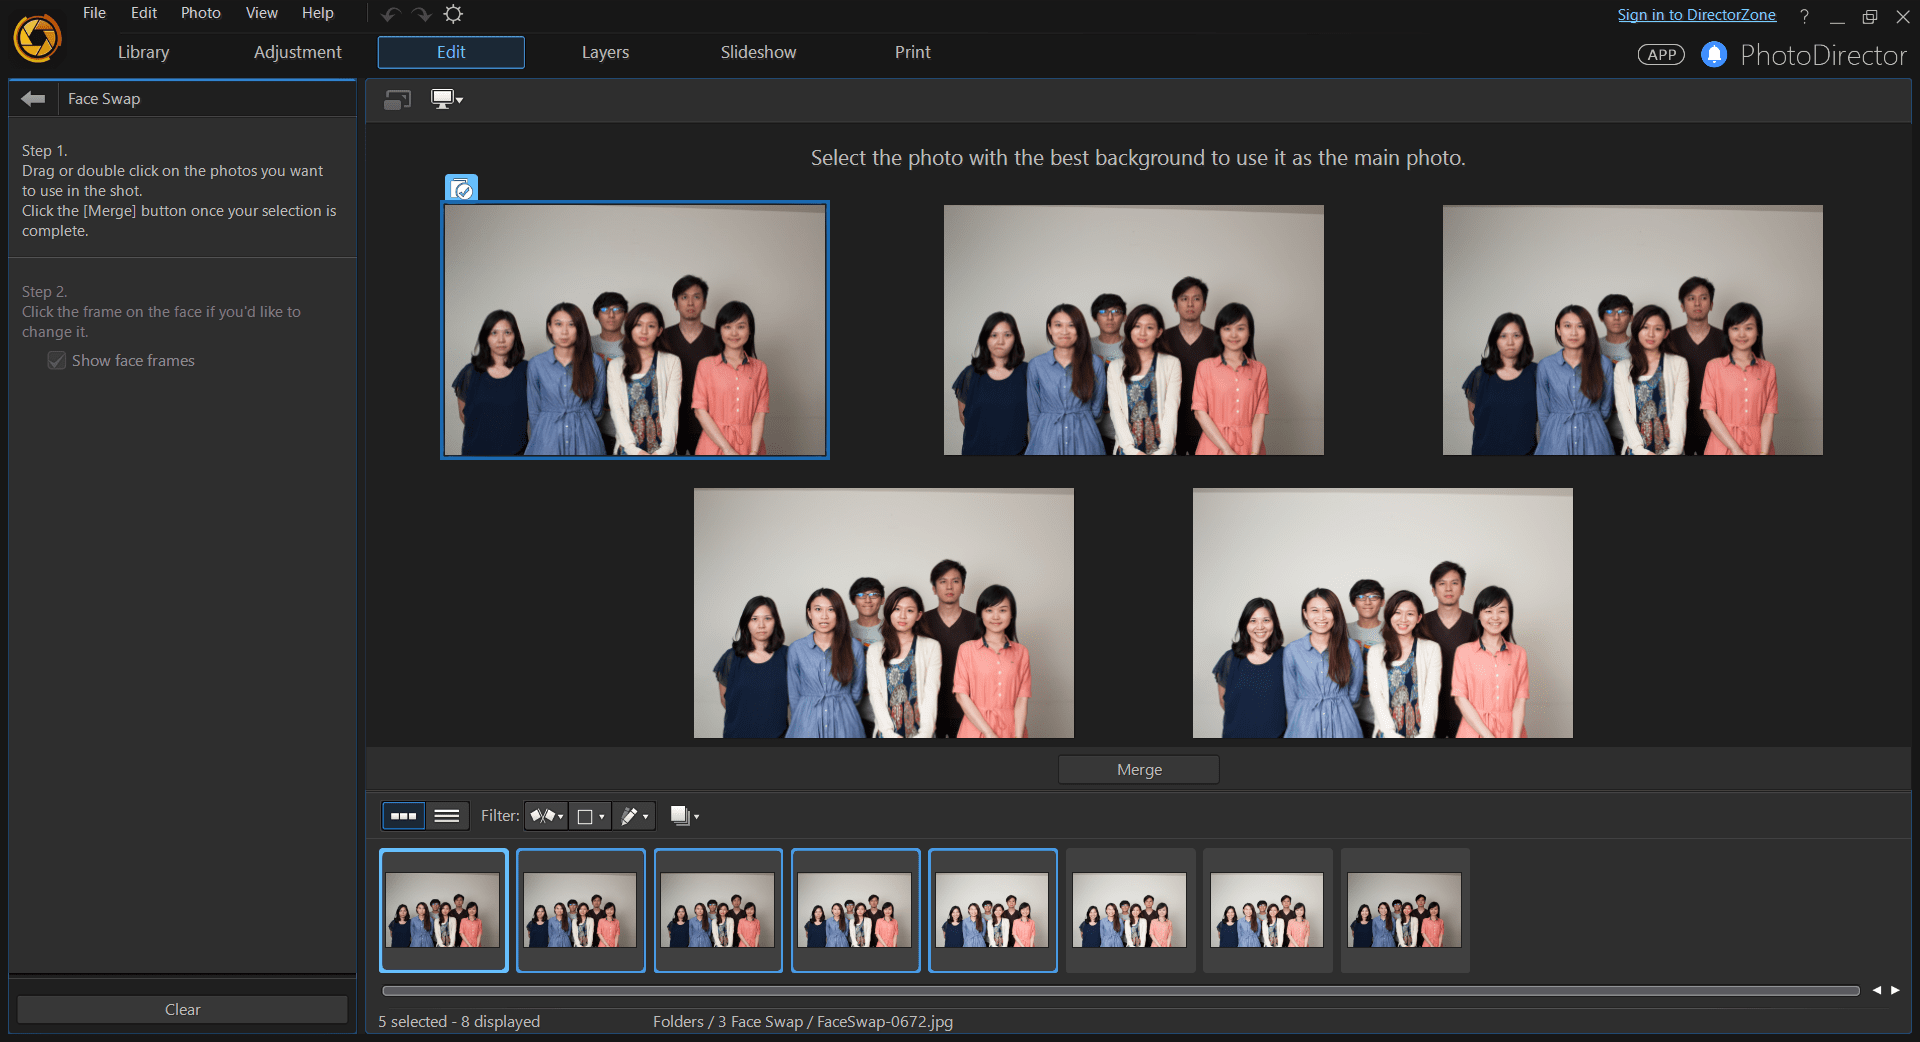
Step3: Merge your group-shot photo
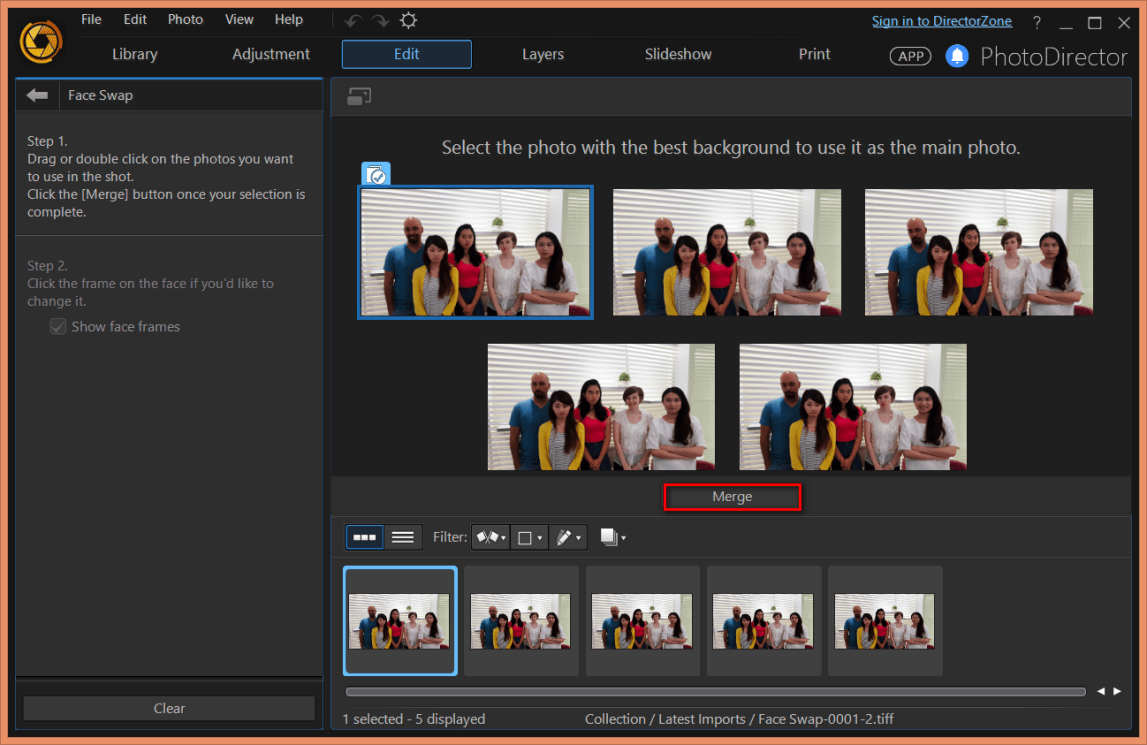
To merge your group shot photo, first you need to select the photo with best background and then press the Merge button
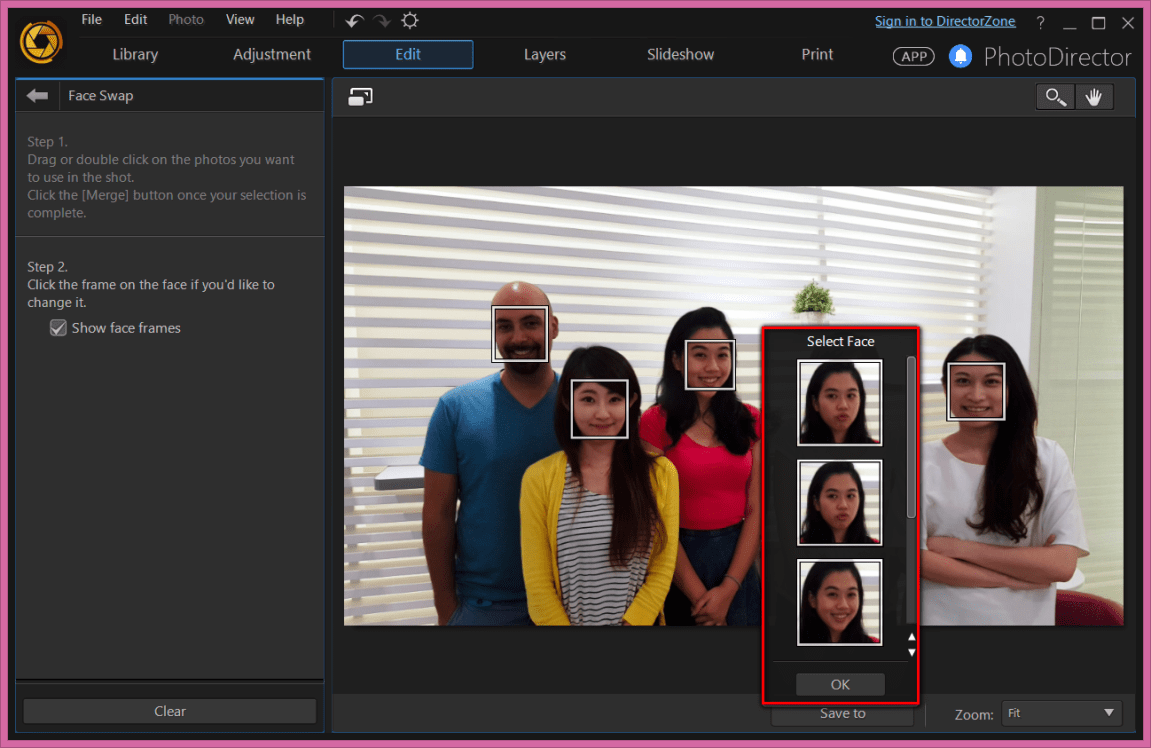
PhotoDirector will automatically pick out the smiling faces. If you would like to manually replace the facial expression of a particular person, click on the face you wish to change, pick another facial expression and then click OK to swap faces.
When you are finished, click on the Save to button to save your photo.
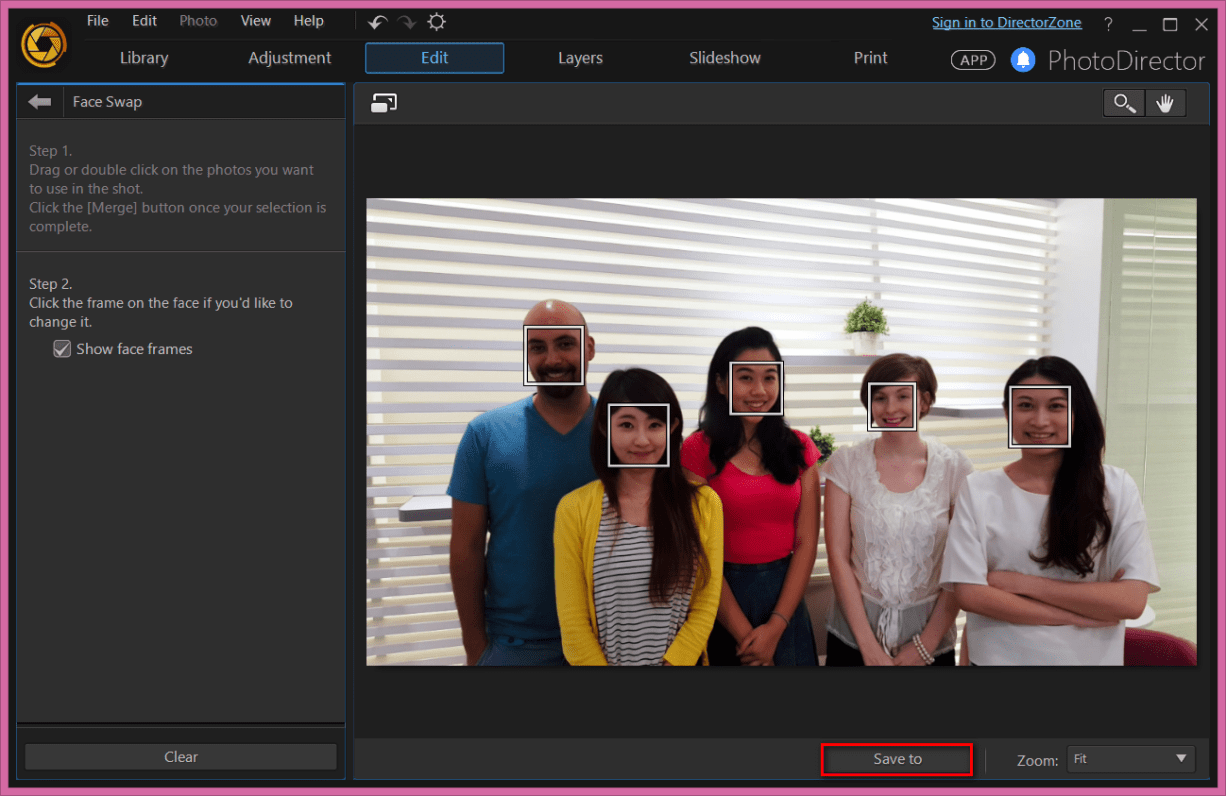
Now you can take a look at your final photo created with PhotoDirector!

PhotoDirector 2026 Essential
Free Software With 30-Day Premium Features
